
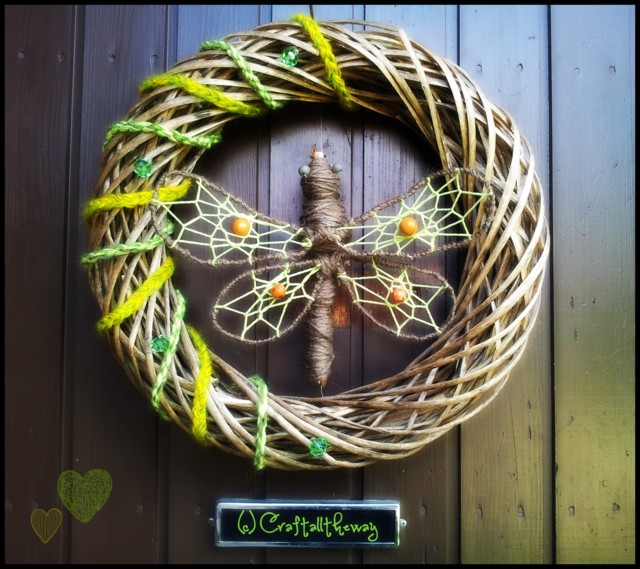
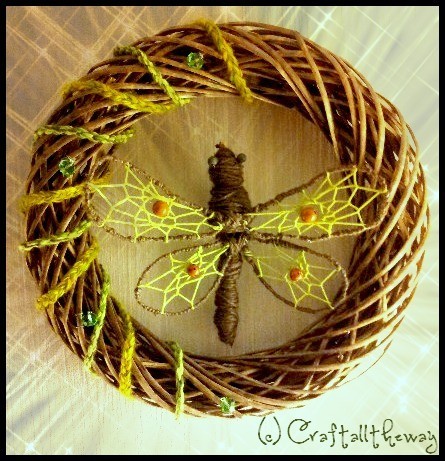
So this is was a small project of mine from last night. The willow wreath was tumbling around from last summer, back then it was actually painted green but the sun faded it pretty quickly. I actually like the color better now, I am more of the down to earth/nature type of crafter.
I didn't take any pictures when making this, so I'll just explain how this was made. It took me roughly about 4 hours, all though it did have moments of ''THIS CAN'T BE LIKE THIS, I AM MAKING THIS OVER'' and ''I'll just toss this to the bin, what a shitty idea this was''. Gladly I didn't give up and this was the result. At first I planned to pin the dragonfly to the other side of the wreath to balance the colourfull side, but it seemed more natural and ''bug-like'' in the middle of it, as if it was resting and sunbathing there. Without further ado, here's how I made this:
1.The wreath: Braided some yarn (9 divided into 3, normal thickness) and swirled it around the wreath. Took some other coloured yarn and twisted it double to make a thick string and also swirled it. Then I pinned the ends of them with thin steelwire to the wreath. Then I added some green glassbeads to get some shine into it, also pinned them with the steelwire.
2. The dragonfly. The frame:
You need a stick. About anything will do, it is just the frame for the body you are going to create the dragonfly on. Then you swirl some thick, rough jutestring (Calcutta hemp string) around the stick, imitating the shape of the dragonfly's body. I started and ended it by just doing a simple knot to the bellyside. You can trim the end of the stick as pleased, I think it's better to keep them long while swirling and sculpting the body so the dragonfly doesn't ''end'' too short or wacky shaped.
Then I added some wooden beads to make the eyes, attached them by ''sewing'' them on to the head. Be careful not to pull the swirled jute, it may come undone if you treat it roughly.
The wings:
Dig out the steelwire again and start sculpting the wings. You need a pair of bigger and longer wings and a pair of shorter and rounder ones. My steelwire is so thin I doubleswirled it to make the wings more sturdy. I covered the frames of the wings with the jutestring. And then the fun begins! This is the same method used when making a simple dreamcatcher. I used lightgreen semi thin knittingyarn, this could be done with any yarn/string basicly. I think it turned out pretty dragonflyish. Here is the pattern:

Adjust this to the wings and you'll get a needo web for the wings. I added some orange wooden beads to the the middle where the webbing ends to give it just a little color. I used crafters fishing line to attach the beads.
3. Completing the dragonfly:
Attach the finished wings to each other with the steelwire to make a pair. Then swirl the steelwire around the dragonfly's body to make them firm and get them to fit the back naturally. Then swirl the jutestring around the body as well to hide the steelwire and make those wings sturdy and firm.
Then just simply knot some fishing line around the dragonfly's head and tie to the upperside of the wreath, then do the same with the tail and make it nice and firm so it won't fall out of the wreath. You can play with the wings, bend them in different positions and make it more alive.
I hope you enjoyed this poor excuse of a tutorial..
Mrs. Julia


Kommentit
Tämän blogin kommentit tarkistetaan ennen julkaisua.